Step 3: Expansion, Entry, and Confirmation
Step 3: Expansion, Entry, and Confirmation. Definitions, examples, and conditions to check before taking a trade.
Begin with the Range Model: two setups and two targets. This page gives supporting detail or an entry-method reference within that map. Its method-specific conditions apply when you choose that method.
Step 3 is directional expansion out of the selected Step 2 structure. The initial boundary break and the confirming close are different events.
Developing Step 3
Price trading beyond the selected boundary creates a developing, unconfirmed Step 3. Module 01 permits a discretionary entry during that intrabar break when the trader's risk and execution plan allow it.
This entry accepts the possibility that price returns inside the base before the bar closes. Record the entry as unconfirmed at that moment. A later close cannot retroactively change what was known when the order was placed.
Confirmed expansion
A meaningful close out of the structure confirms Step 3. The source does not define one numerical close-distance or body-size threshold for every instrument. Do not invent a universal formula.
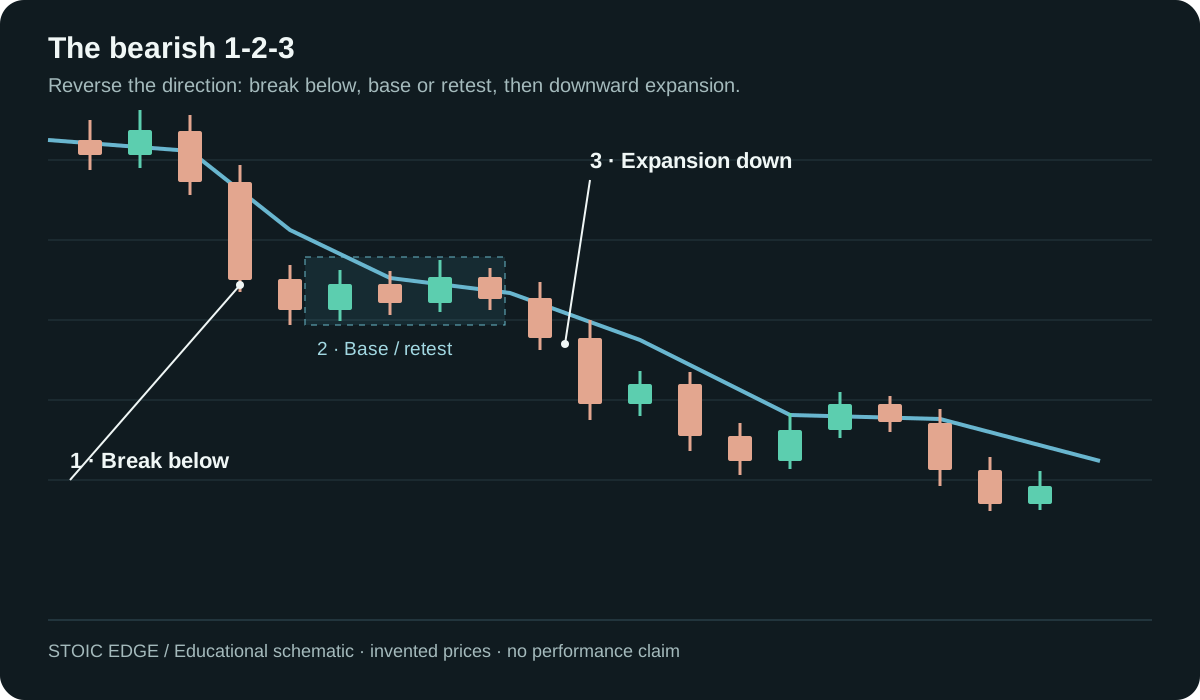
The bearish illustration uses invented prices. It explains direction, not expected performance.
PTB is a separate entry moment
Module 02 focuses on a clean pullback after the sequence. The candidate must complete; a later directional trade-through confirms it as the PTB without another candle-close requirement.
Do not call Step 3 the later pullback. Do not require every Module 01 entry to wait for a PTB. Study Pullback Trigger Bar for that approach.
Opposite Step 3 and the remaining position
Module 01 uses a confirmed opposite Step 3 as the final technical exit for any remaining position. Protective stops, earlier management actions, and account limits can end the trade first. Holding until an opposite confirmation does not authorize exceeding the planned risk.